Getting started with Inperium Sell
As you follow these instructions, you'll get acquainted with essential Inperium Sell features that you're going to use in your everyday work.
Log in
So far you’ve received an invitation to join Inperium Sell. Let’s get started! Follow the link from your email and enter a password.
Completing your profile
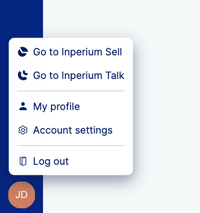
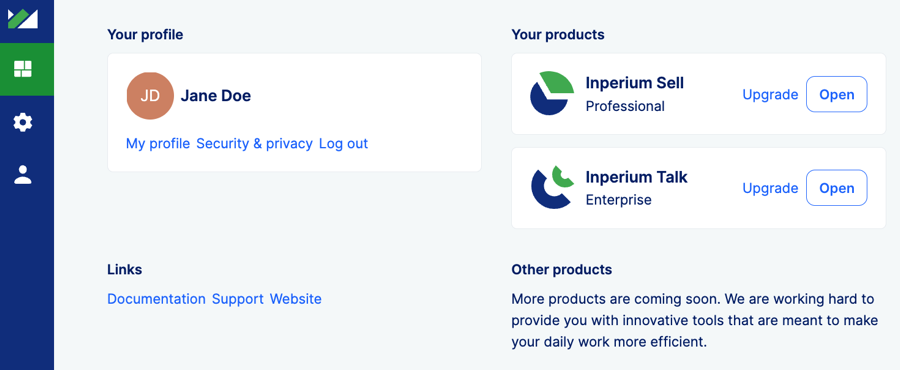
Once you sign in, navigate in Inperium Account. It’s a central point where you can manage your profile and access Inperium products.
Go to My profile — we suggest you add more information about yourself to make communication more personal. Your colleagues and clients will definitely appreciate that.
Now, go back to the main Inperium Account page and select Open next to Inperium Sell to proceed to the app.
Welcome to Inperium Sell!
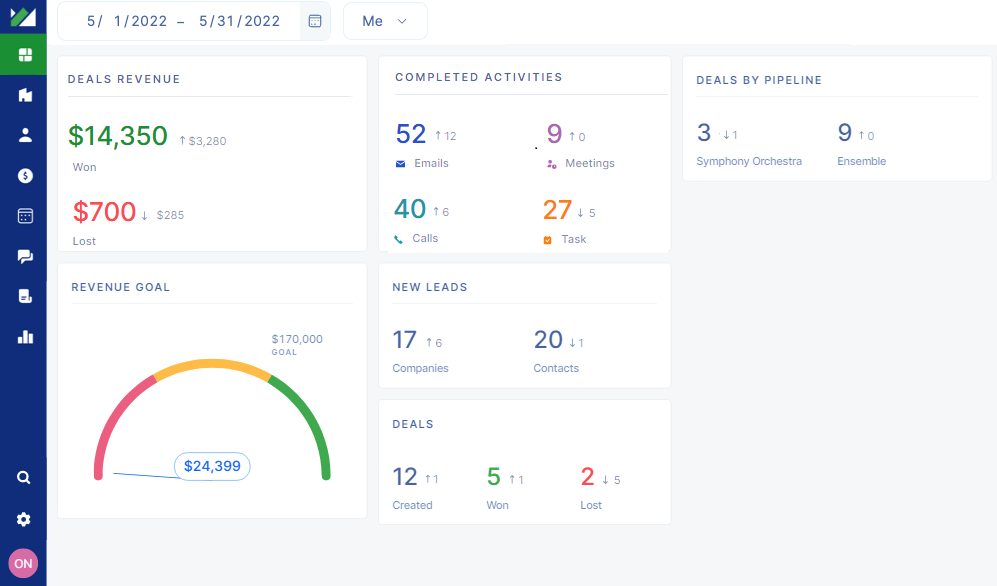
If you are one of the first users in your organization, some of the pages might look empty and lonely. Let’s see what’s going on here and check out some product features. It all starts on the Dashboard page.
You can use it to assess your productivity, see how many deals you created and won, what is your current revenue, and how active you were. Later on, your dashboard will be full of valuable data — be sure to check it every now and then. If you are a manager, you’ll see data for the entire team. To learn about KPI and productivity tracking, continue reading Productivity dashboard.
Task 1. Creating a prospect
Inperium Sell keeps track of all companies and contacts you work with. You can neatly organize information about your clients and link companies to their representatives (contacts).
Adding a new company
- On the left side, select Companies. You’ll see a list of companies or the page might be empty if no one created companies before.
- On top of the list, select + Create.
- Now, add basic information about the company such as a name and company website.
Reviewing the company record
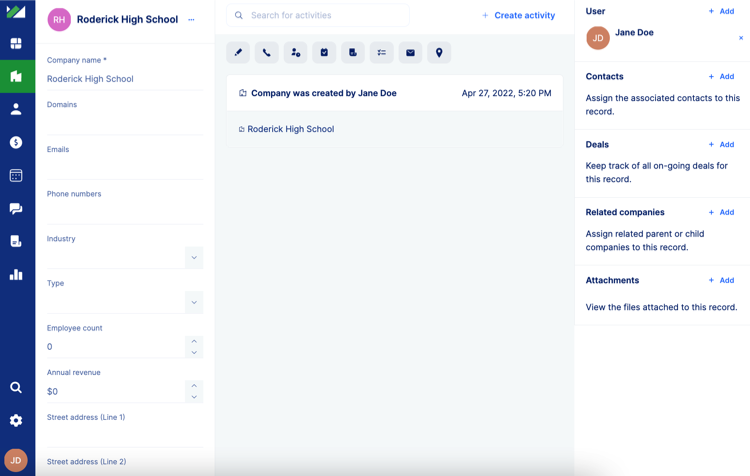
Now you’ve got the company page in front of you. Let’s take a closer look.
On the left, you’ll find company information details. Inperium pulls data about the company that is available online. That’s really handy, isn’t it? If nothing is found, you can always add information manually. For example, the industry the company belongs to, address, and other details.
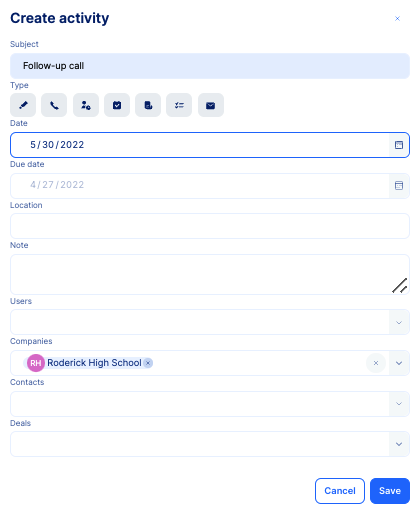
In the middle section, there is the Activity board. It shows a timeline — all emails, tasks, etc. related to the organization. Select + Create activity and add a scheduled call or a task.
On the right, there is the Reference pane. It outlines who is in charge of the company — in this case, it’s you. Also, it enables you to add contact details and create deals right on this page.
Task 2. Adding a contact
What is a contact anyway? In most cases, when you negotiate the deal with a client, you’ll be in touch with a person representing this company. The contact is that person.
Creating a new contact
In Inperium, it doesn’t matter if you create a company first and add contacts later or vice versa. You can create links between your contacts and companies to keep your operations transparent. Let’s do that. Since you are already on the company page, let’s create a new contact.
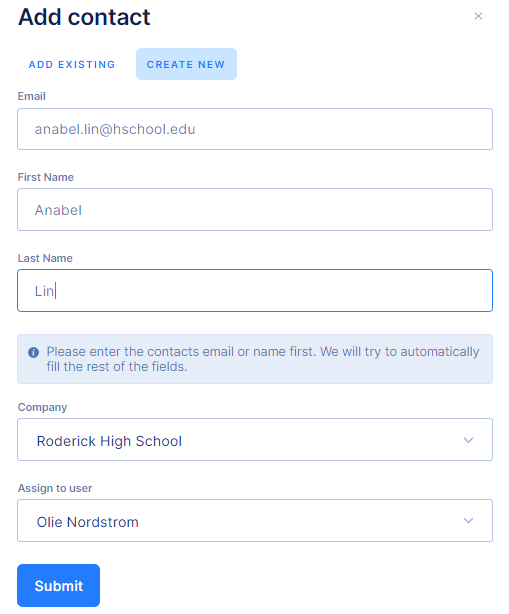
- Navigate to the Contacts page and select + Create.
- Complete contact details: the full name, email address.
- Associate a contact with a company you’ve already created.
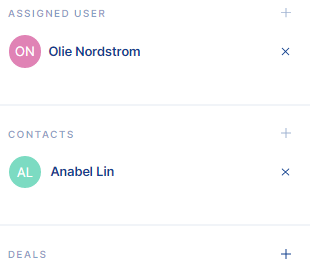
The contact will be linked to the company you’ve just created and assigned to you. The contact will appear in the Contacts section on the company page and vice versa the company will be displayed on the contact page.
Reviewing the contact record
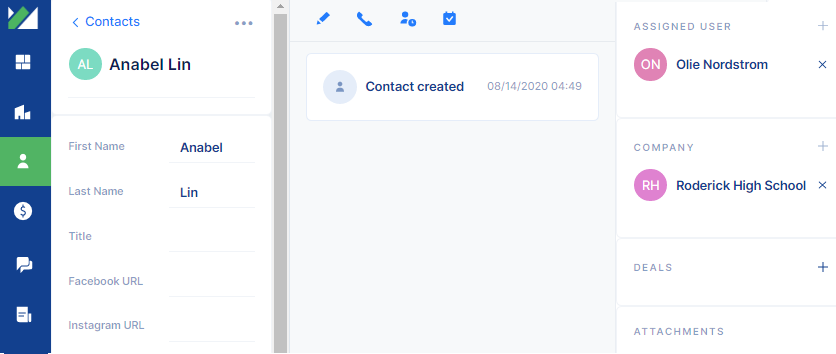
Drill down to the contact. As you can see, its page really resembles the company page. The contact is linked to the company you’ve created before.
Task 3. Processing your first deal
Sealing the deal is precisely what we are here for, right? First things first, let’s create a deal.
You can create a new deal on the Deals page, or you can add new deals while working with contacts and companies. Since you happen to be on the Contact page, let’s add a new deal from here.
Creating a new deal
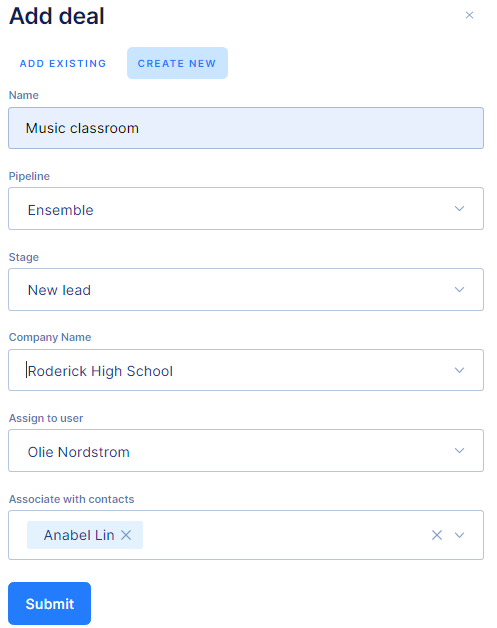
- On the right, select + next to Deals.
- Since this is a new deal, select Create new.
- Provide a deal name — it can be any identifier you use to distinguish deals. Select the pipeline and make sure the deal is assigned to you and associated with the company you’ve created before.
Drill down to the deal you’ve just created. Seems familiar? As always, you can see all links in front of you — the company, contact persons, all activity. Everything you need is in quick access.
Creating a quote
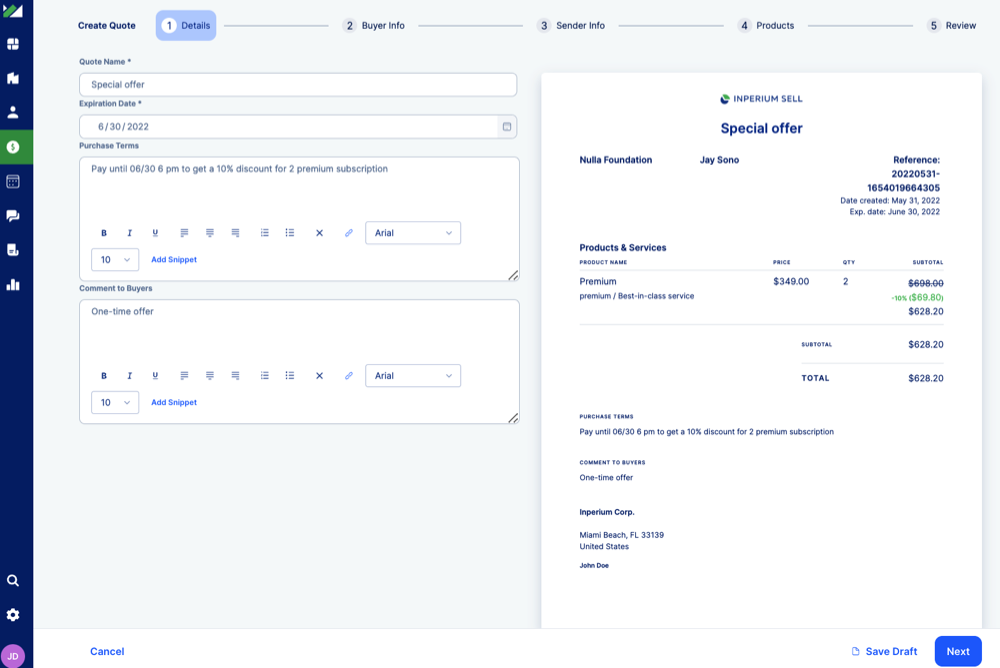
A quote is a sales proposal. Create multiple quotes and let your clients choose the one that works better for them.
- On the right side of your deal record, hit + next to Quote.
- Provide a quote name.
- Check the right client data: company and contact names.
- Add products, any discounts and specify payment options.
Share the quote link with your prospect. And hopefully, they will accept it!
Well done!
You have completed the initial tutorial, well done! You’ve learned how to create companies and contacts, process deals, and send quotes. Now you can operate Inperium on your own. But we are always here to help you should you have any questions or tips on how to use Inperium to its fullest.
